At the last Queen West Art Crawl, a neighbouring artist came by to my booth and started looking around. She explained that she wanted to see how we hung up the grids.
We explained that we used zip ties, but I couldn’t help but feel sorry for her as I was certainly in a situation having not fully tested during my first outdoor art exhibit how I would hang up my frames.
What’s the best way then to set up an outdoor art exhibit booth? Here’s what I learned from my experience, informed by looking at others’ booths and talking with artists at previous art fairs.
Think of how much you want to invest
The major difference between people’s booths are the set up costs. Sure, you can buy a full set up with nice mesh screens but that might put you back $2,000 for just the tent.

Here’s what the basics would need:
- 10×10 ft tent. I recommend a white tent as some art shows have restrictions on this
- 4 walls. You may not use all walls always but they are important for your booth to be professional and for keeping your work dry if it rains
- 1 fold out table
- 1 table cloth for the table
- 2 fold out chairs
- 2 pool noodles cut into small pieces to put at top corners of the tent. Again this would help keep the water off the tent
- 1 step ladder to set up the tent
- 4 weights for the tent legs. This could be proper tent weights, sand bags, large stones. I’ve also seen water containers that are useful since you only would pour out the water after use, reducing the weight to load out.
- Plastic large containers to load and pack out
- Plastic zip ties 7 inches and 10 inches (get multiple lengths)
- Name tags for pieces and pricing
- Payment method for cards like Square, Clover etc
Additional other helpful items
- Some stools to put different crates for works
- Metal grids. Can be white or black depending on your preference
- Battery charger for your phone so you don’t run out of charge needed for processing payment
- Red stickers to indicate when pieces are sold
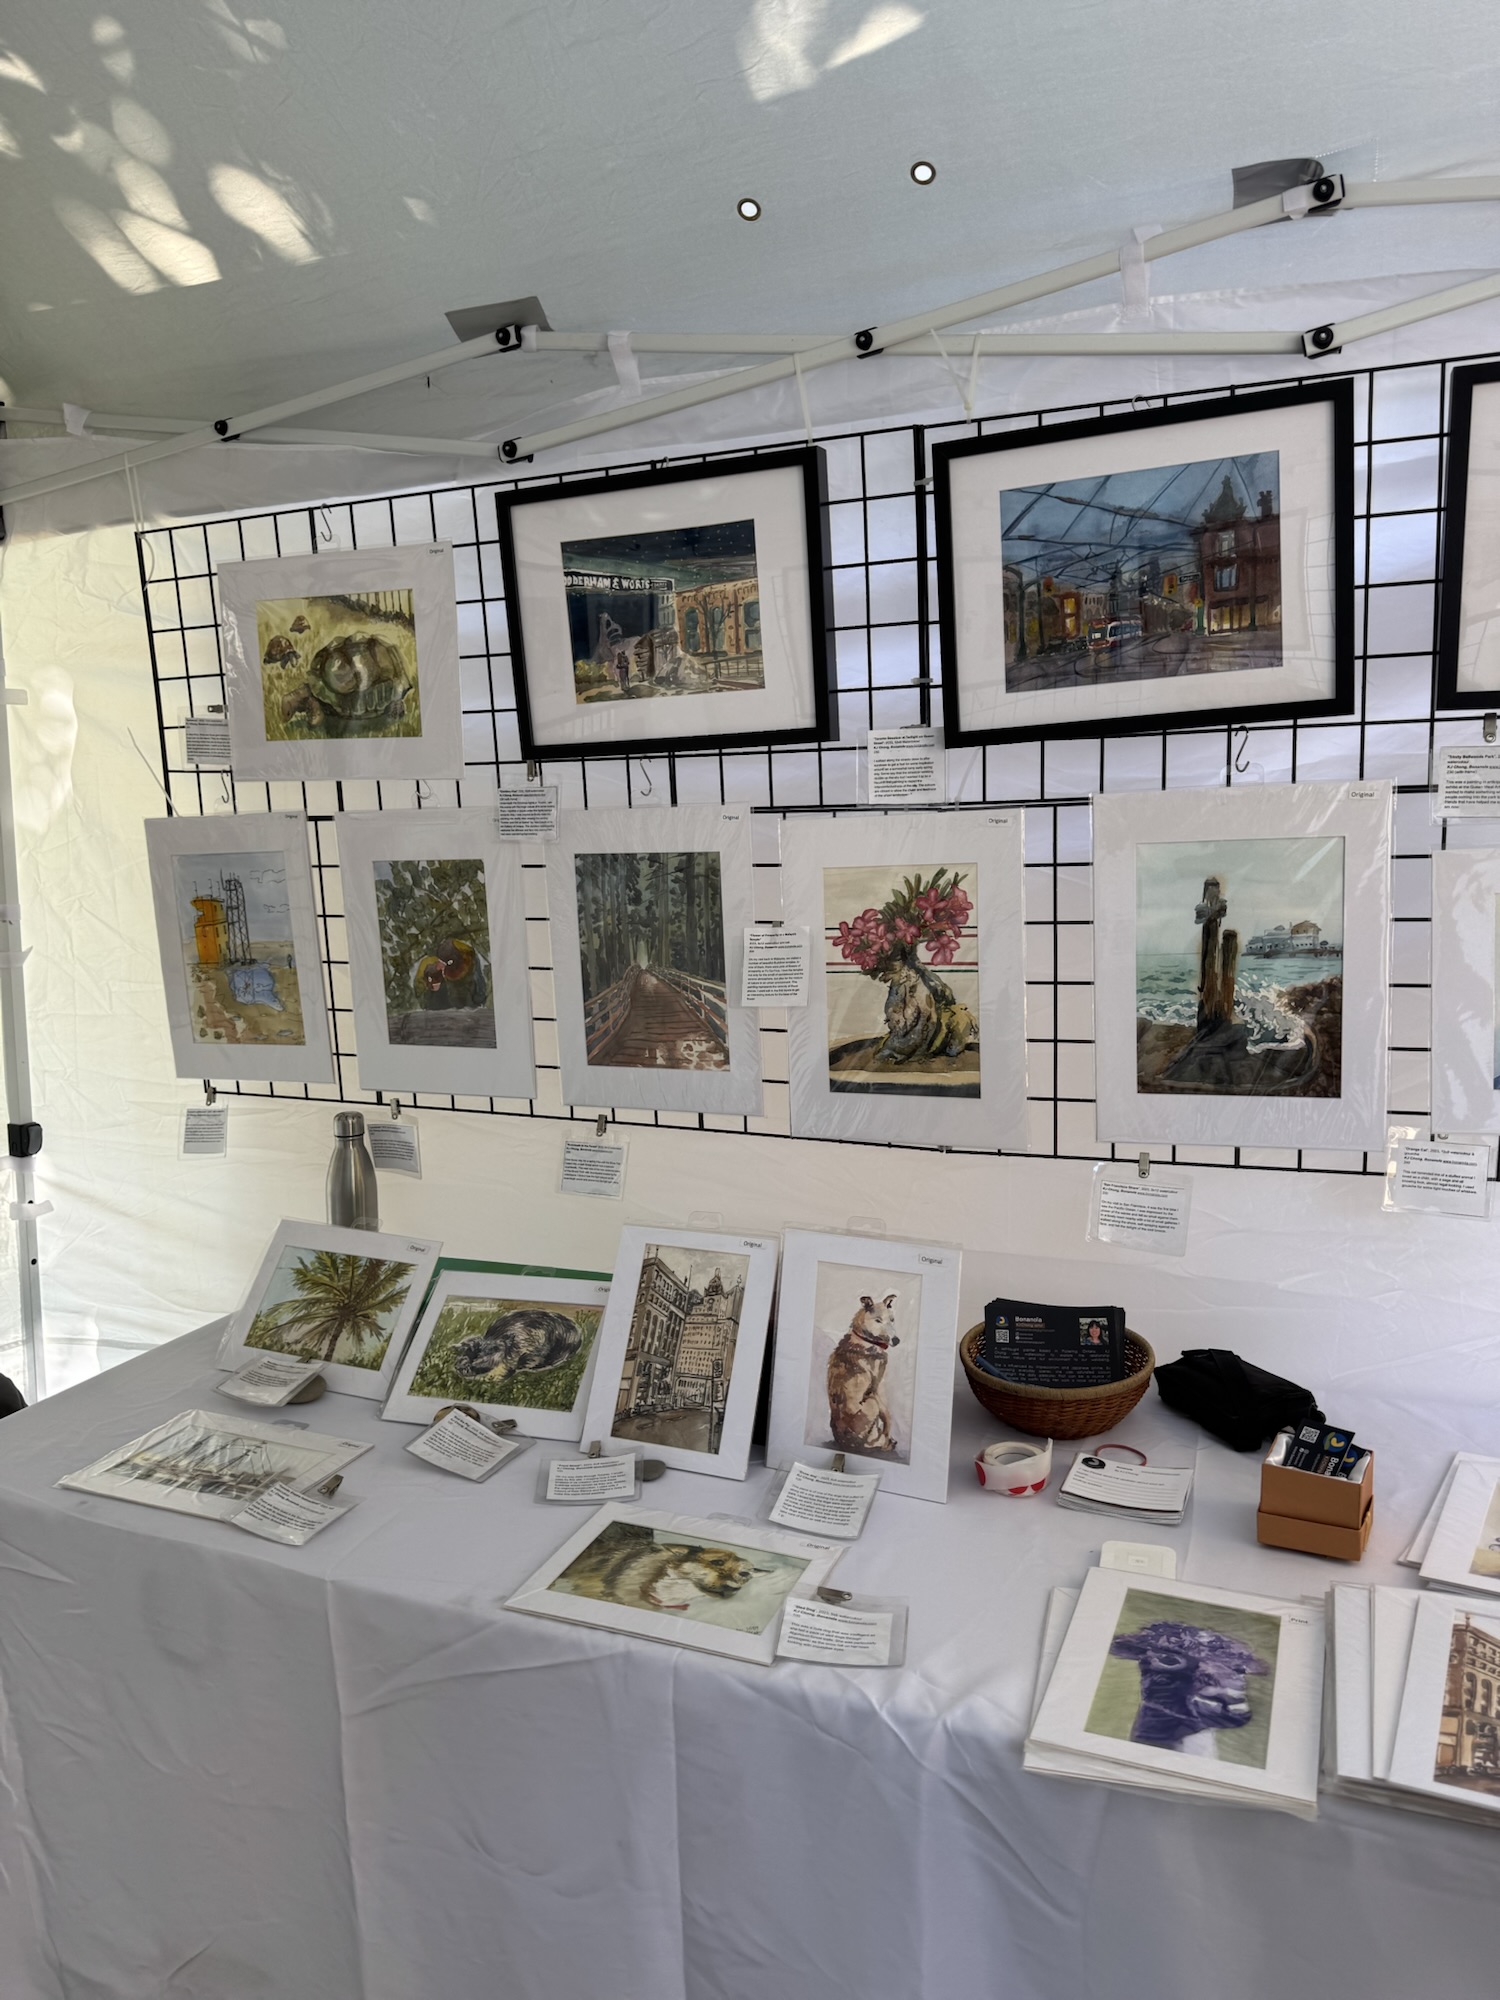
Learn from others based on what you want to sell
The size of your pieces will affect the set up. If your pieces are huge (think 18×24 inches and larger) your set up will be different than if you produce miniatures that are smaller than post cards.
Some artists make wooden shelves for small pieces that are on a fold out table. Those who have large pieces will need a grid system.
Do a full run through of the set up you have in mind, including putting up your pieces
I read this tip before my first show. I did a test, putting up my tent and grids. Looked good.
Then on the day of, I realized zip tying frames to a grid didn’t allow me to move my pieces around easily to space them properly. Moreover, the ties I purchased were not long enough. I had to cut zip ties when patrons purchased my art which was a hassle.

Fortunately, I had enough of my family attending to send my brother on a last minute trip to the dollar store and this only resulted in eating into time right at the start of the show when a few patrons trickled in.
At another art show later on, I met Shelly Prior, a famous Ontario watercolour artist and I asked her about how she hung her frames. She showed me the S hooks she purchased and how you can buy plastic tabs to attach to your plastic bags holding your pieces. This allows you to hook on and off all pieces and frames easily. This is now my set up for each show.

Pick your Payment Methods
I have seen now that Square doesn’t require you to buy their small square tap machine and you can have a transfer just through your phone.
I personally have found Square great and since then haven’t looked up other merchant methods I have seen. There is no monthly fee and there is only a charge per transaction which is not significant.
Funds are transferred seamlessly to my business bank account and unlike online vendors like Etsy, there is no hold back amounts on your payment.
The fees for Square are also very reasonable.
Having an easy payment system and not requiring customers to send e-transfers is truly the way to go. It is more professional and it makes the buying experience like any other vendor so I highly recommend taking the time to set this up properly.
One note is to not forget about taxes applicable. This may not be set up automatically in your payment system and you should run test trials to see if it works well.
There’s so much more I could write but I’ll leave it at that for now as the bare basics. Happy selling!