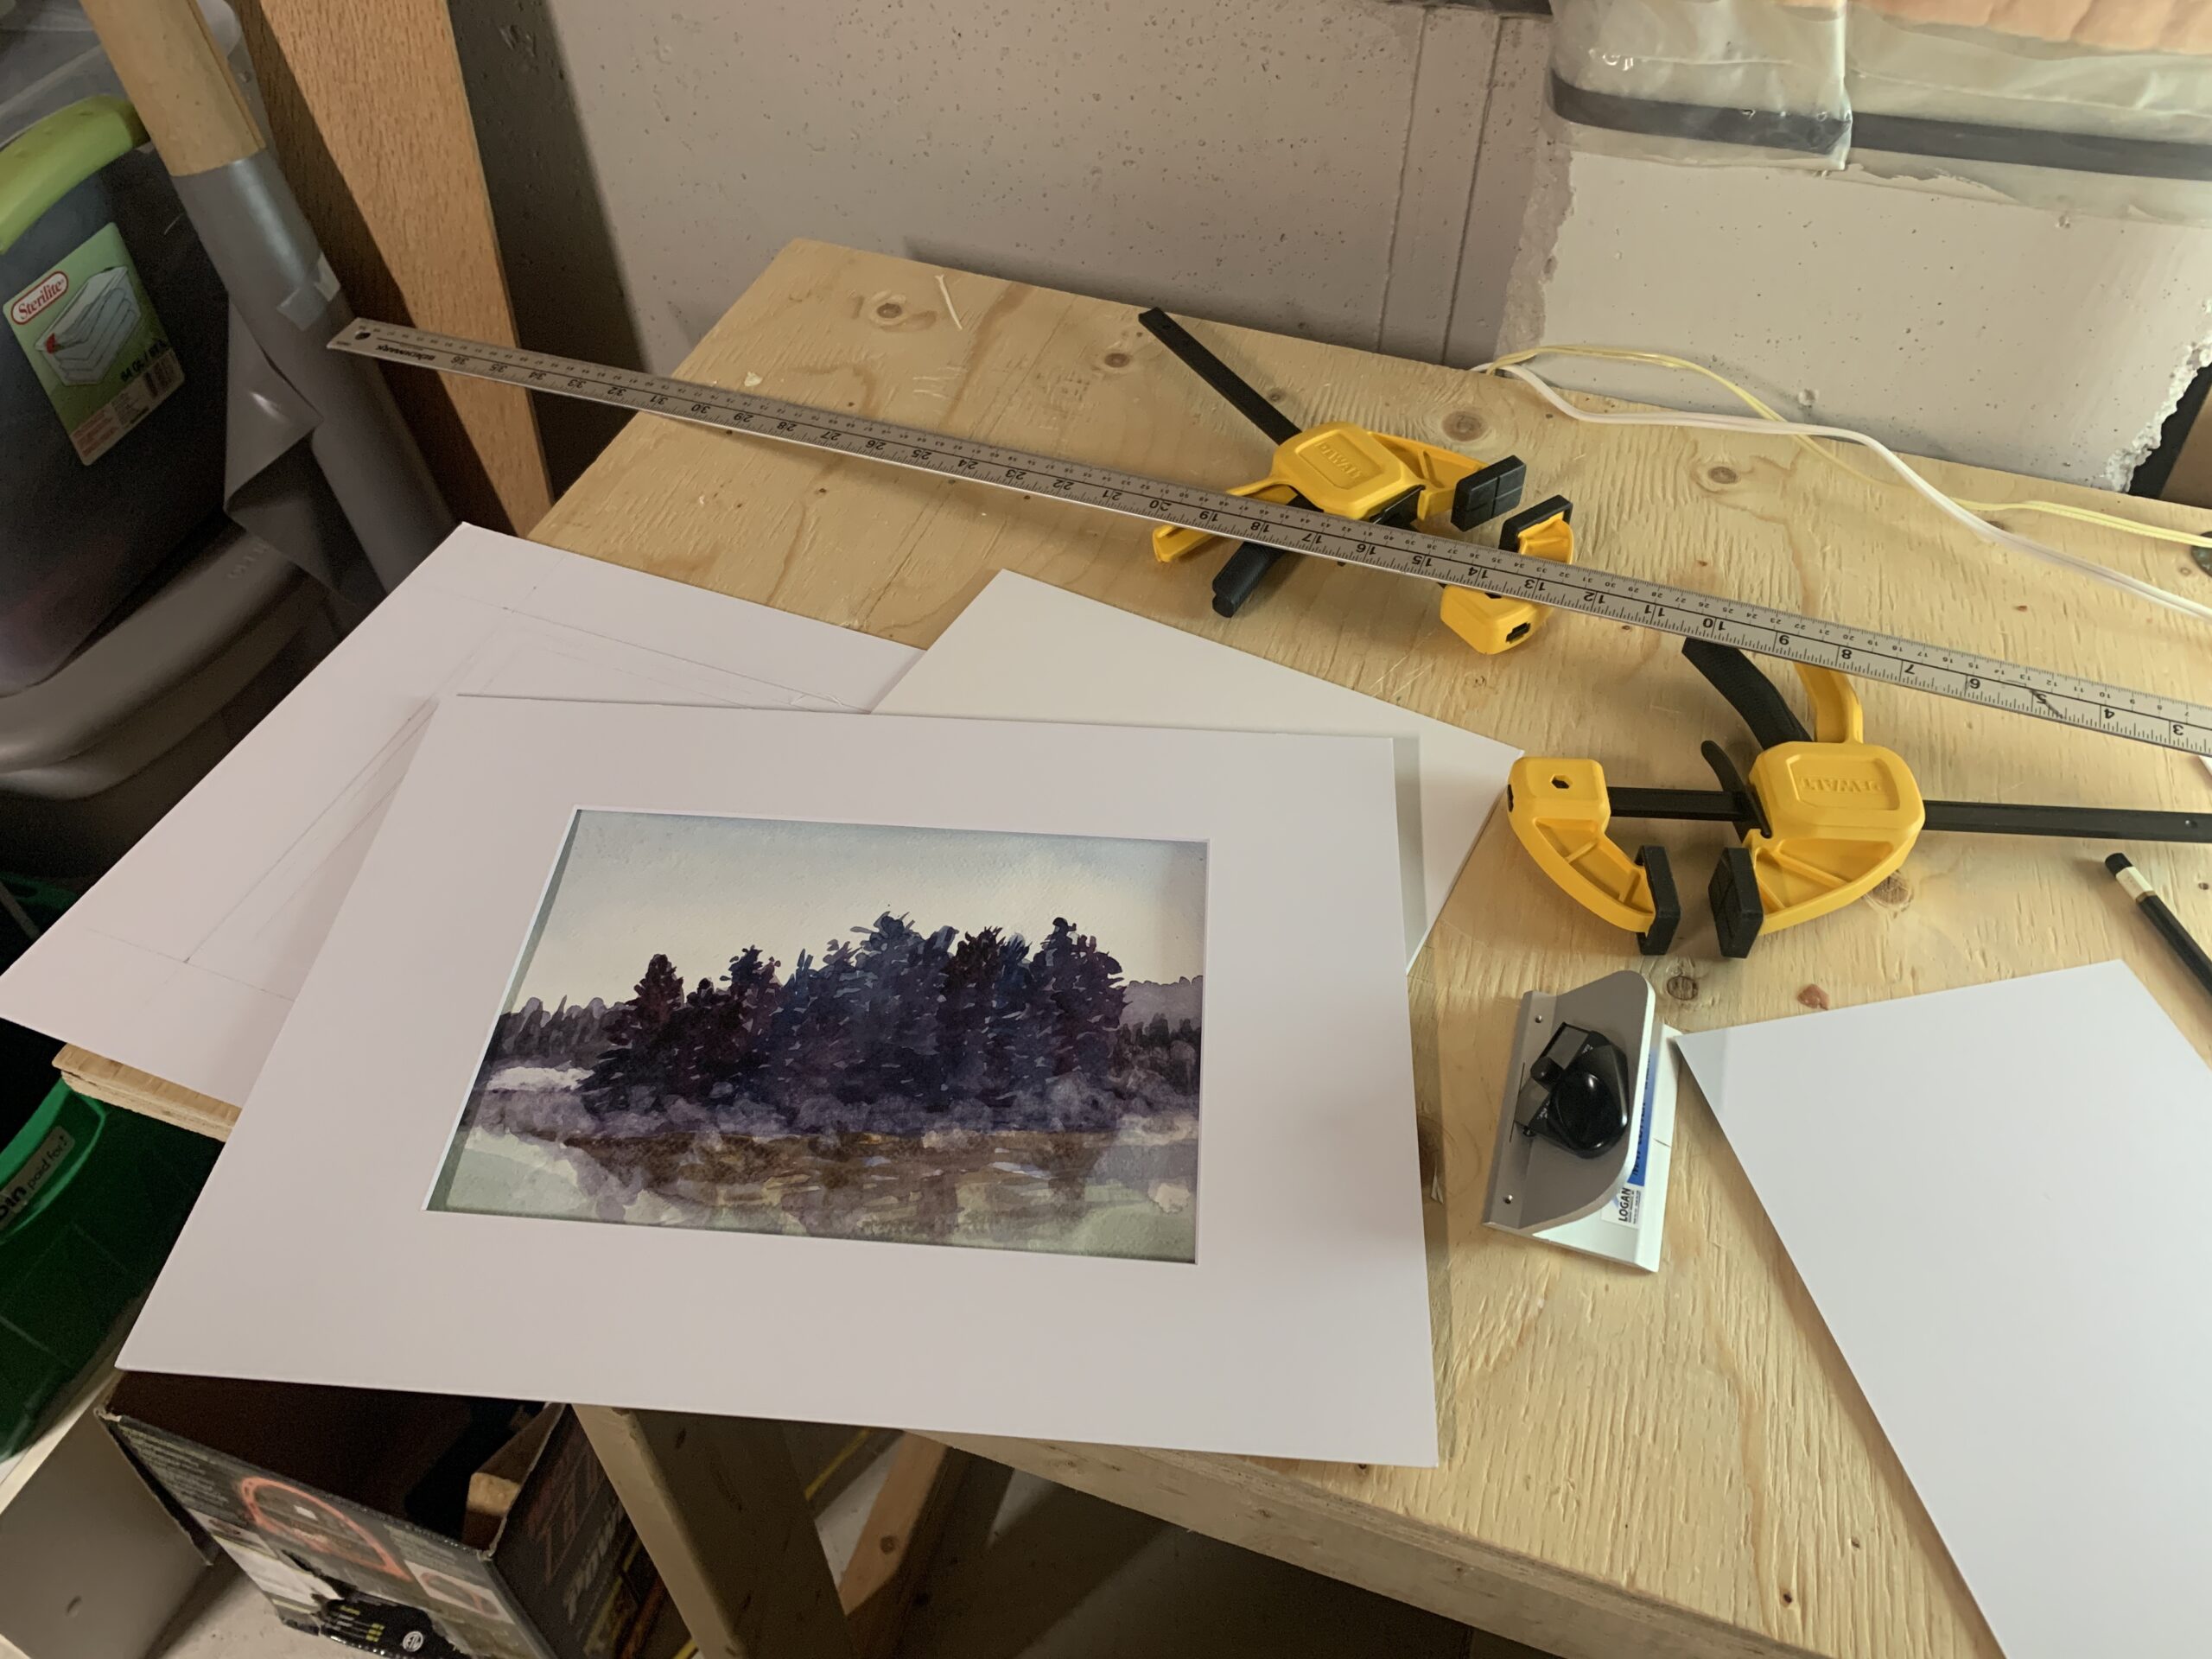
I’ve learned a lot about cutting custom matboards (the paper board around the painting in a picture frame) lately for my upcoming exhibit at the Queen West Art Crawl.

Cutting the inside bevelled edge
Cutting the mat inside is pretty easy with the right tools. I purchased a Logan mat cutter and followed a number of tutorials to make the beveled edge.
This first video gave me the confidence to think, “Yes, this is easy!” and to fork out the money to buy the cutter.
But when I got around to actually cutting it, this second video was a more detailed explanation that really helped.
There were a few tips that were most important:

- Push the Logan Mat cutter away from you:
- For cutting the inside mat, you need to push the Logan mat cutter away from you. My first attempt had me cutting across from me (i.e. from the left to right side of my body) which was awkward. Wasted a few boards with ragged edges.
- Place a matboard underneath the one you are cutting. It’s not a waste.
- I had tried to cut with the wooden table underneath and it not only dulled my blade but made it difficult to pull the blade across. The extra layer allows your blade to easily glide across the matboard.
- Changing the blade frequently is important.
- I have done it every 4 9×12 mats I’ve cut, flipping the blade for every two mat boards over as per the above videos, so I can get an extra two cuts. While it feels wasteful, changing the blade will ensure that the cuts are correct. And it’s rather painful when you’ve done 3 excellent cuts only to ruin the last cut.
Re-sizing a matboard. Cutting the matboard with a straight edge
I’ve found it hard to find a cheap source of uncut matboards but then I found a whole bunch at Above Ground Art Supplies near OCAD. That said, they were the wrong size, so I then had to learn another skill which was cutting with a straight edge X-ACTO knife to make it the proper 12×16 frame that I wanted.

- Cut across from you, left to right (for right handed people).
- Unlike the inside beveled edge, this is easier when cutting across from you (from your left to right). This was a bit of a surprise given the earlier learning for the Logan cutter where I had to push away from me.
- Score the paper lightly.
- I make 4 light scores to get the mat board cut and then go deep on the remaining. Getting the scoring down is critical to not making false cuts.
- Place the ruler on the edge that is closer to you.
- When cutting across, I’ve put the ruler on the side closer to me. So in the above image, my blade is on the metric side, not the imperial side of the ruler.
- While this seems to risk me cutting into the actual matboard piece I want, for whatever reason, it works well. I presume it’s because I get tired from cutting and then will be more likely to draw the blade towards me rather than away.
Measuring the matboard
This is very time consuming. So what I’ve done is:
- Measure the actual painting itself that will be covered, excluding any white boarders around the edges of the painting that were taped.
- Knowing the matboard size (eg 12×16), you then have to take the difference between the two lengths and divide by two, and add a margin of overlap.
- So If I have a painting measuring to be 28 cm in length, and I know a 12 x 16 inch translates to 40.4 cm x 30.5 cm, then:
- 40.4-28 = 12.4
- 12.4/2 = 6.2
- Then I add a buffer. For the larger ones, I’ve made it half an inch, so about 1.27 cm
- 6.2 + 1.27 = 7.47
- So then I measure out 7.4 cm out from this side
I’ll test my lines to make sure they make sense with the painting before drawing the lines down that intersect.
Other Miscellaneous Tips
- Check the table height.
- Having a table at your waist or lower makes it easier for you to cut and see. But having it higher up means you won’t bend over as much. I now opt for a countertop higher than my waist since my back was hurting otherwise.
- Watch out for cramping.
- My hands and arms were really hurting after a while and I realized I was pushing down hard on the rulers. I would recommend shifting your body to work in a more ergonomic way if you notice this.
- Have good lighting.
- Shadows from the side of the ruler may trick you into thinking there was a pencil mark when there wasn’t. Set up your lights so you can work!

